RadioMaster Mini CNC AG01 Hall Gimbal Set for Zorro & TX12 - Choose Color
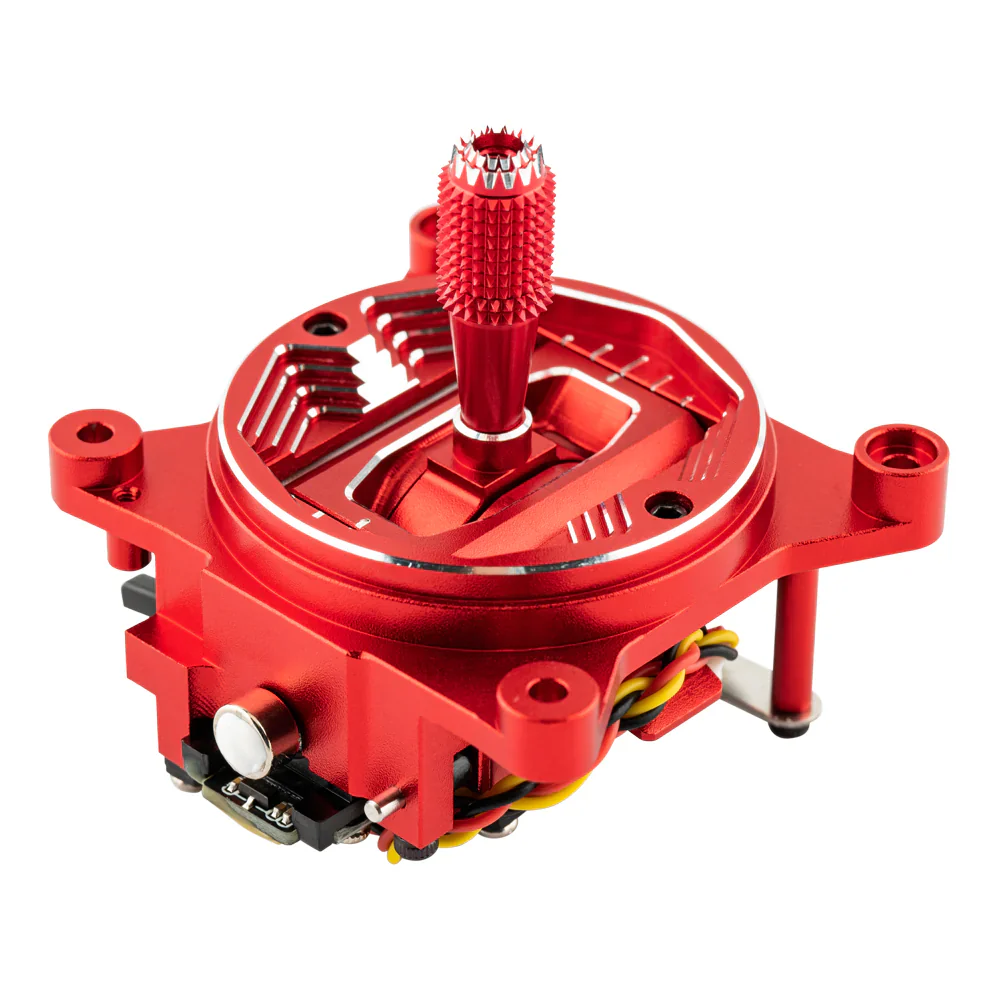
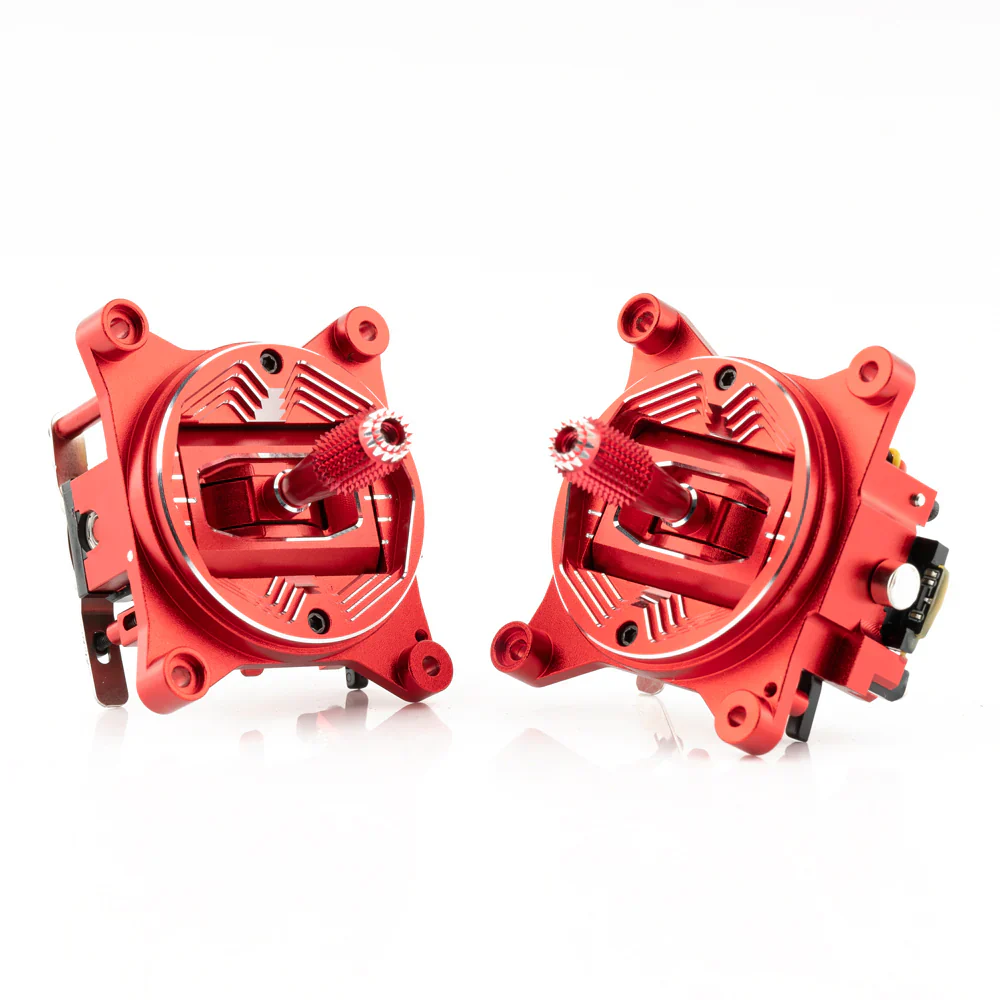
RadioMaster Mini CNC AG01 Hall Gimbal Set for Zorro & TX12 was designed and tested for over a year. The AG01 is fully CNC milled for ultimate precision with quad ball bearings for a smooth and precise feel. Featuring front-accessible tension and travel adjustment for easy fine-tuning. The Mini AG01 will take your TX12 or Zorro to the next level.
Check out the Radiomaster Zorro and the rest of our Radiomaster Products!


Features
- Made with CNC processed aviation grade aluminum.
- Sticky360 Mini Gimbal Sticks as standard.
- Non contact hall sensors for accurate control inputs and precise centering.
- Quad precision bearings for unparalleled stick feel.
- Adjustable vertical travel angle (Min. 38°, Max. 54°).
- Custom designed for RadioMaster Zorro & TX12.
Specifications
- Name: AG01 Mini CNC Hall Gimbal
- Colors: Red, Gold, Blue
- Sensor type: Hall Sensor
- Working voltage: DC 3.3V
- Linearity: Real-time (No delay)
- Adjustable vertical travel range: 38°—54°
- Self-centering adjustment: Yes
- Easy mode adjustment
- Adjustable tension: Yes
- Quad bearing: Yes
- Temperature range: -20°C-85°C
- Size: 49*42*48mm
- Weight: 42g(±0.3g)
Includes
- 2x RadioMaster Mini CNC AG01 Hall Gimbal Set for Zorro & TX12 - Chosen Color
- 2x Hex tool
- 8x Installation screw
- 2x Spare normal tension spring
- 2x Throttle tension screw
Installation for Zorro & TX12
The AG01 Mini gimbals are shipped as self-centering by default and compatible with the Zorro and TX12 Radios.
FOR ZORRO
The Zorro radio is configured as Mode 1 or Mode 2 by the screws mounted in the rear case of the radio. Both gimbals should be installed in self-centering configuration (as default out of the box) in the Zorro radio. Once the radio is re-assembled the screws in the rear case of the Zorro will set the throttle gimbal.
FOR TX12
One gimbal must be set as throttle and one as self-centering before installation in the radio.
1. Use the included screw (see parts bag) to hold down the centering lever and set the gimbal as a throttle gimbal.
2. Adjust the throttle tension bar until the desired tension is achieved.

Dimensions:



Description
RadioMaster Mini CNC AG01 Hall Gimbal Set for Zorro & TX12 was designed and tested for over a year. The AG01 is fully CNC milled for ultimate precision with quad ball bearings for a smooth and precise feel. Featuring front-accessible tension and travel adjustment for easy fine-tuning. The Mini AG01 will take your TX12 or Zorro to the next level.
Check out the Radiomaster Zorro and the rest of our Radiomaster Products!
Features
- Made with CNC processed aviation grade aluminum.
- Sticky360 Mini Gimbal Sticks as standard.
- Non contact hall sensors for accurate control inputs and precise centering.
- Quad precision bearings for unparalleled stick feel.
- Adjustable vertical travel angle (Min. 38°, Max. 54°).
- Custom designed for RadioMaster Zorro & TX12.
Specifications
- Name: AG01 Mini CNC Hall Gimbal
- Colors: Red, Gold, Blue
- Sensor type: Hall Sensor
- Working voltage: DC 3.3V
- Linearity: Real-time (No delay)
- Adjustable vertical travel range: 38°—54°
- Self-centering adjustment: Yes
- Easy mode adjustment
- Adjustable tension: Yes
- Quad bearing: Yes
- Temperature range: -20°C-85°C
- Size: 49*42*48mm
- Weight: 42g(±0.3g)
Includes
- 2x RadioMaster Mini CNC AG01 Hall Gimbal Set for Zorro & TX12 - Chosen Color
- 2x Hex tool
- 8x Installation screw
- 2x Spare normal tension spring
- 2x Throttle tension screw
Installation for Zorro & TX12
The AG01 Mini gimbals are shipped as self-centering by default and compatible with the Zorro and TX12 Radios.
FOR ZORRO
The Zorro radio is configured as Mode 1 or Mode 2 by the screws mounted in the rear case of the radio. Both gimbals should be installed in self-centering configuration (as default out of the box) in the Zorro radio. Once the radio is re-assembled the screws in the rear case of the Zorro will set the throttle gimbal.
FOR TX12
One gimbal must be set as throttle and one as self-centering before installation in the radio.
1. Use the included screw (see parts bag) to hold down the centering lever and set the gimbal as a throttle gimbal.
2. Adjust the throttle tension bar until the desired tension is achieved.
Dimensions: